# Installing Windows 10
**Unplugging second+ drives with windows installations on them.**
You may ignore this section if this is your first installation on a blank drive or if you are just reinstalling windows on a single drive that had windows previously. Storage drives are okay to keep plugged in because they don't have Windows OS on them.
If you plan on keeping a old drive with windows already installed on it and decide to install windows on a new empty drive. Make sure you **unplug the old drive with windows** already installed on it. If your other drives are storage drives, and do not have Windows OS installed on them then you can leave those plugged in.
The reason for this is because the installer is dumb and uses your old drive's **100MB SYSTEM** partition as an EFI boot loader. This will fuck up your installation on the new drive and not create the 4 partitions mentioned in this [step](#bkmrk-partitions-warning..). When this happens, your new drive won't be able to boot should you decide to remove your old drive... because the installer was dumb and chose to use a boot loader that was tied to your old drive.
If you somehow forget to do this... You can fix it [here](https://wiki.starfroz.tk/books/reformatting-windows/page/fucked-up-efi-bootloader-help "Reformatting Windows"). Trust me you don't want to go there.
**STEP 1...**
\--Plug in bootable usb made from [**rufus**](https://wiki.starfroz.tkbooks/reformatting-windows/page/making-usb "Making USB")**.**
Press F11 (or any other hotkey that brings up the boot menu).
Select your usb device from the boot menu (Usually try to choose the UEFI boot option of your USB when you can)
Windows Setup Will Appear w/ Language Choices. Press **Next**.
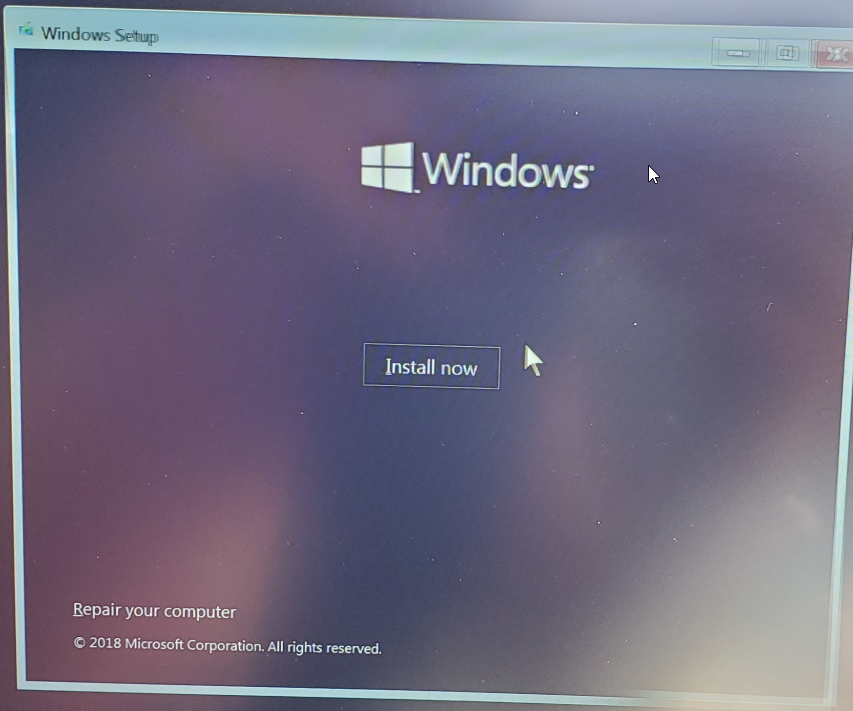
**Install Now.**
[](https://wiki.stoplagging.com/uploads/images/gallery/2021-06/image-1624561816557.png)
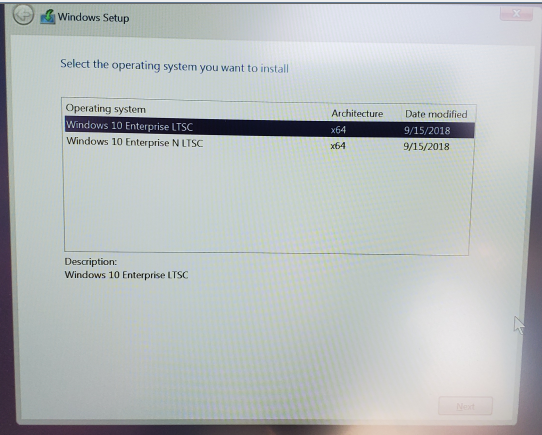
When asked to select operating system you want to install.
[](https://wiki.stoplagging.com/uploads/images/gallery/2021-06/image-1624561823635.png)
Choose **Windows 10 Enterprise LTSC x64**. Then press **Next**.
**Accept terms.** Press **Next.**
[](https://wiki.stoplagging.com/uploads/images/gallery/2021-06/image-1624561832719.png)
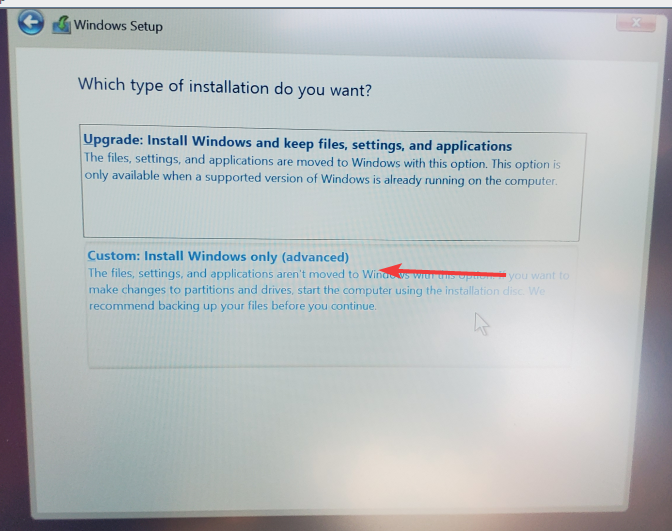
Choose **Custom: Install Windows only (advanced)**
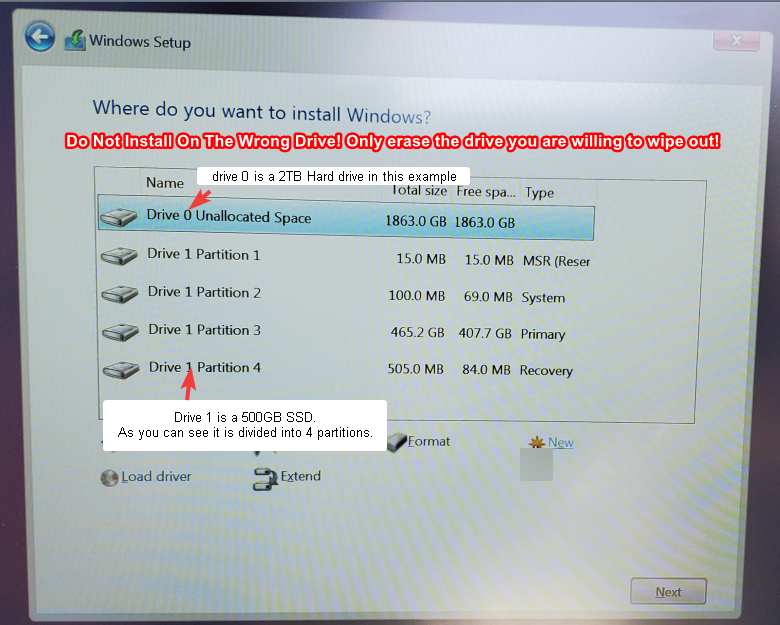
### Now you need to decide on a drive to install
**Be careful with this step otherwise you may erase the wrong drive and lose your data!**
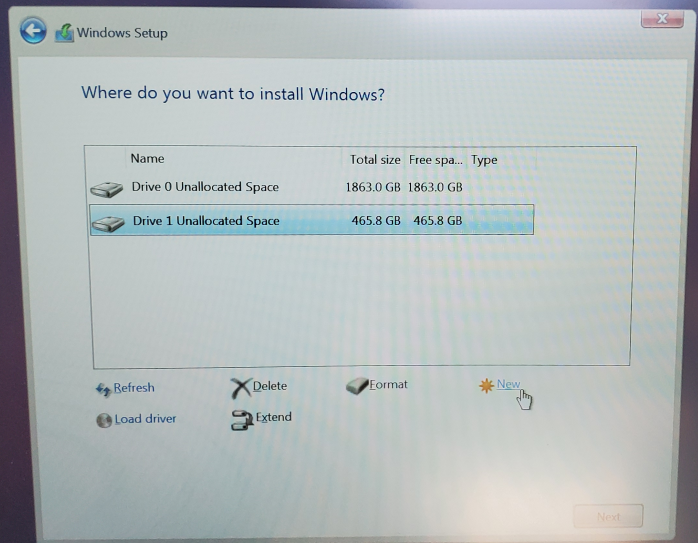
[](https://wiki.stoplagging.com/uploads/images/gallery/2021-06/image-1624561838677.png)
As you notice there are two types. There is **Drive #**. and **Partition #.**
### Choosing a drive to install windows on.
In the example above. We want to install on drive 1. So what we do is delete partitions 1 thru 4 under drive 1 until you only see "Drive #1 Unallocated Space"
[](https://wiki.stoplagging.com/uploads/images/gallery/2021-06/image-1624561843826.png)
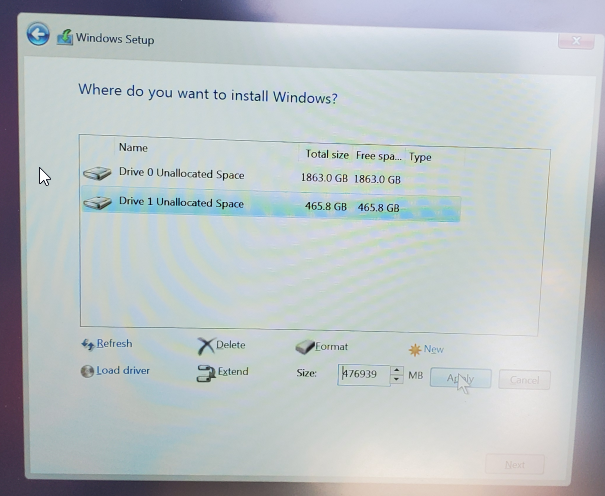
Now you select that drive #1: Unallocated Space. And click **New** and when asked for Size just click **Apply**.
[](https://wiki.stoplagging.com/uploads/images/gallery/2021-06/image-1624561855428.png)
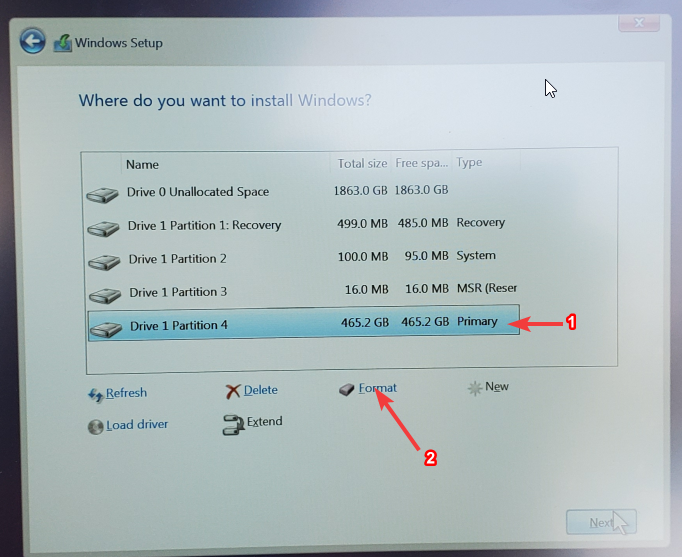
##### Partitions Warning... You should see 4!
After this step you should see **4 partitions of drive #1** automatically generated by Windows. You want to select the **biggest** partition belonging to drive #1. Usually, this **biggest** one is the 4th partition by default. **If you do not see 4 partitions of your target drive** stop, redo everything and unplug any drives that may have an existing EFI/Recovery/Windows installation on it. **You should see 4 Partitions of your target drive!**
[](https://wiki.stoplagging.com/uploads/images/gallery/2021-06/image-1624561868048.png)
Then press **Format**. After formatting make sure the big partition is still selected.... Press **next**. Now it will install
### After Installation (By passing Microsoft Account Method 1)
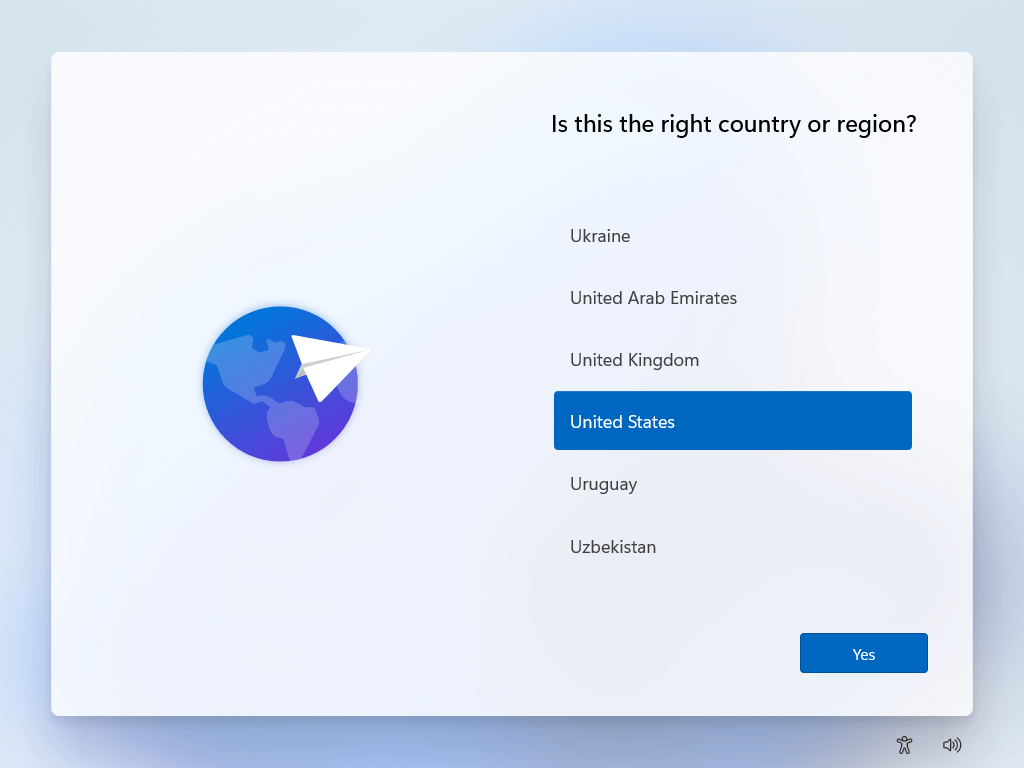
1\. Select region. Select Language. Skip Keyboard.
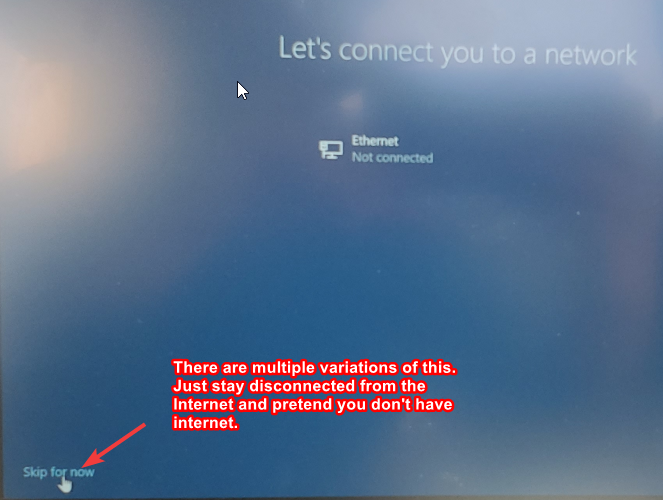
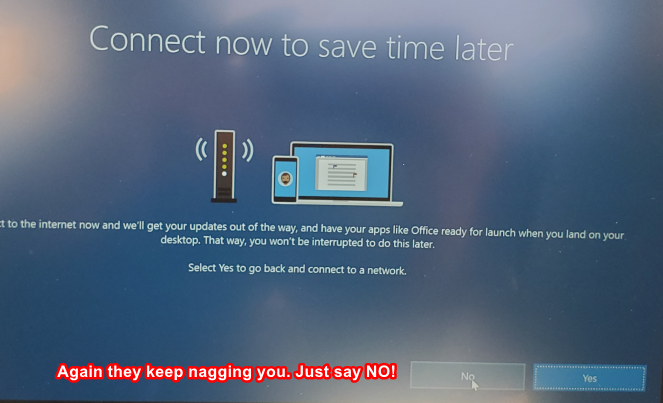
1. **Case 1:** If asked to connect to WiFi Don't! Trust me on this is if you want to avoid using Microsoft account to login to your own computer. If it asks are you sure just press the option that allows you to skip connecting to WiFi.
2. **Case 2:** When asked to **Sign in with Microsoft** Don't! Select **Domain join instead** on the bottom left.
[](https://wiki.stoplagging.com/uploads/images/gallery/2021-06/image-1624561873397.png)
[](https://wiki.stoplagging.com/uploads/images/gallery/2021-06/image-1624561880102.png)
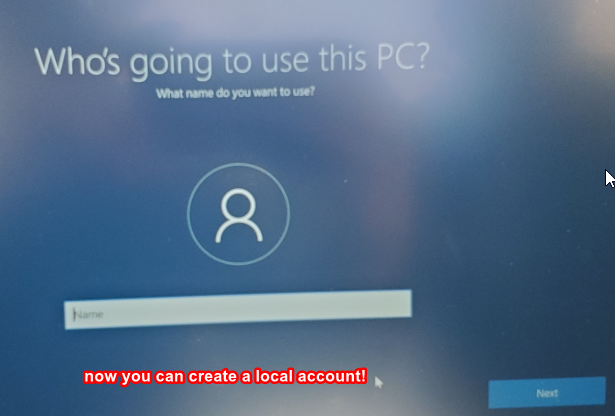
Choose a local account name when prompted. Next. Optionally choose password Next.
[](https://wiki.stoplagging.com/uploads/images/gallery/2021-06/image-1624561884642.png)
When prompted **Do more across device with activity history.** Choose **NO!**
On the privacy settings. **Select No** on everything! Then **Accept**.
## Bypassing Microsoft Account Method 2 (Windows 11)
Once you are on this screen...
[](https://wiki.stoplagging.com/uploads/images/gallery/2025-01/install-windows-11-8.png)
Press Shift + F10 to bring up the command prompt, you can type in one of these commands:
1. oobe\\bypassnro
2. "oobe /bypassnro"
3. "oobe/bypassnro"
4. cd oobe (press enter, then) --> bypassnro.cmd
After that the machine will reboot.
When asked for internet click “I don’t have Internet”
Then when asked to connect again, choose “Continue with limited setup”
When asked for privacy settings uncheck everything then click “Accept”
When asked to Register Product. You can leave everything blank and press “Next” to skip.